SETUP And Equipment
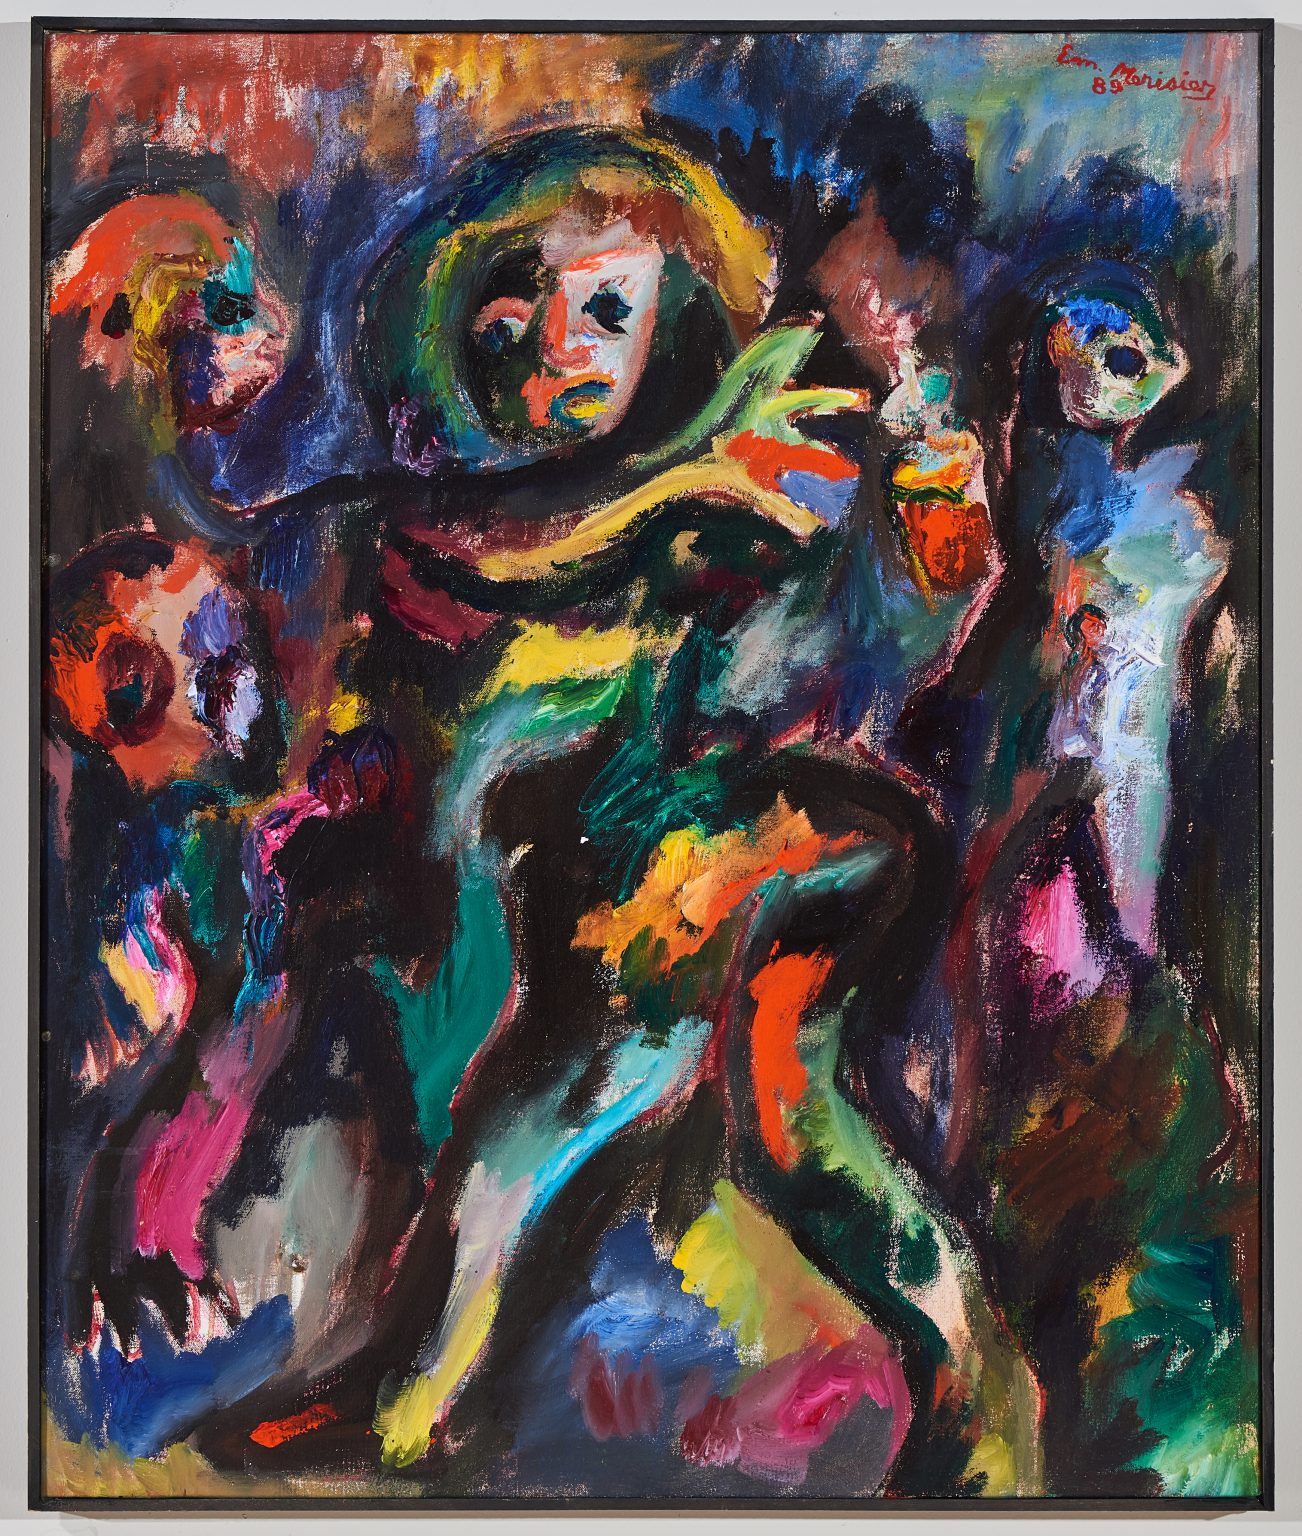
Emmanuel Merisier
Detail from Abstract #3, 2007
Acrylic on canvas
WCA Collection
During July 1-3, 2019, the research team collaborated with photographer Jerry Grier to document a variety of Haitian art objects. Our goal was to photograph one hundred works of art for our model database and websites. Considering the unique materiality of some works, we also considered best practices for photographing works of Haitian art. Our documentation is included here.
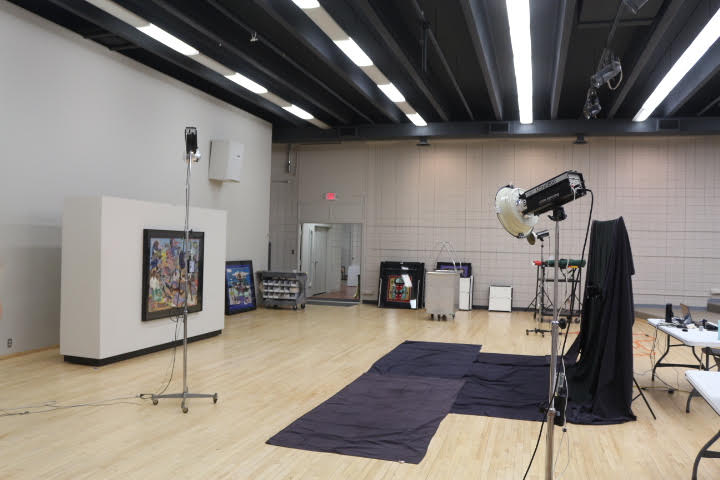
SETUP
To begin photographic documentation, numerous items are essential to the set up. As expected, a good quality camera is necessary in addition to a tripod, memory card, lights and an adequately large space to work in.
Listed below is an extensive list of equipment we utilized in our photography process.
During July 1-3, 2019, the research team collaborated with photographer Jerry Grier to document a variety of Haitian art objects. Our goal was to photograph one hundred works of art for our model database and websites. Considering the unique materiality of some works, we also considered best practices for photographing works of Haitian art. Our documentation is included here.
CAMERA EQUIPMENT:
>Nikon D800e camera
>Micro-Nikkor 105mm lens (set to auto-focus)
> Tripod
> Bellows type lens shade
(This item can be substituted for anything that can block light from striking the lens from a side angle)
>Polarizing filter placed over the camera lens
(The filters we used were circular, however, linear would also work if you are not using a lens on autofocus)
> Remote flash trigger for firing the lights
Lighting Equipment Used:
>Two flash units with polarizing filters.
(These lights were placed on each side of the artwork, level with the middle of the art piece area. These lights were set at approximately 45 to 60 degree angles towards the art object.)
>A third flash unit
*(This flash unit was angled downwards to cast extra light on details and help capture texture in the image of the art object.)
>>Three Light stands
>>Remote receivers
(These are essential to sync the lights with the camera flash trigger)
Pictured right and below are photographs of the lighting setup, with drafting vellum.
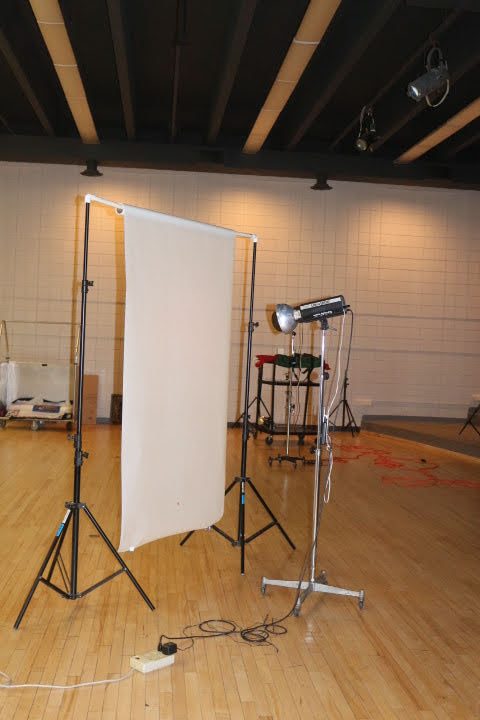
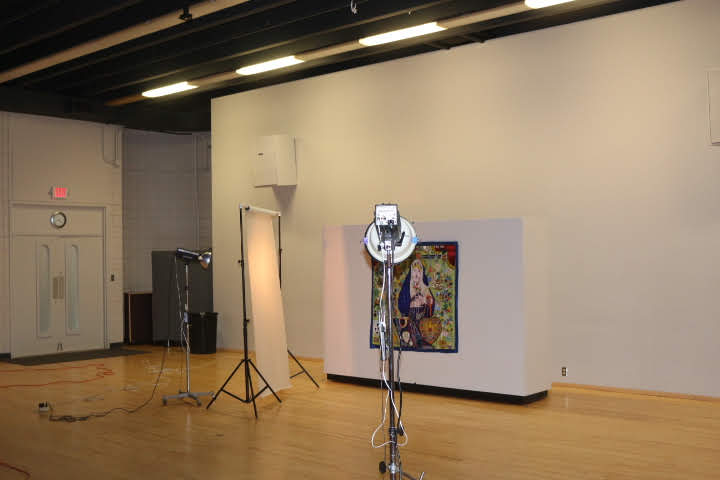
Polarizing filters are important, not only for removing glass reflections, but for “pulling” the colors from the art object; they greatly improve the quality and intensity of colors. Therefore, try to ensure you have such filters in order to capture better quality images.
The flash trigger also had a feature capable of adjusting individual light settings remotely. This addition was useful at times, but not essential in the process.
Miscellaneous/ other equipment:
>Black fabric
*This fabric was particularly important with regard to photographing the flags and works behind glass. We had multiple sheets pinned together and attached the far corners of the fabric to the top of two additional stands we had, hanging it opposite the wall with the artworks on to block reflections. Ensure that the fabric is large enough to block all reflections from the art objects. We then placed the camera lens through a strategic hole in the fabric.
>A few rolls of drafting vellum on light stands
*Drafting vellum is simply a roll of transparent, uniform, white paper that functions to diffuse the light from the flashes. This item is particularly useful when photographing 3D art objects as the softer, more even light dispersion better illuminates the entirety the object.*
>Binder clips
>Various tapes; used painter’s tape only on this shoot to mark placements on the floor and walls.
>Extension cords.
>Meters per photographer’s desire; light meter, color meter
>Batteries
>Lens cleaning tissues
>White balance reference cards per photographer’s desire.